Installing a ceiling fan is a great way to improve airflow and energy efficiency in your home. While it may seem like a complicated project, with the right tools and steps, you can install a ceiling fan yourself. Follow this guide to safely and effectively install a ceiling fan in your home.
Tools and Materials You’ll Need:
- Ceiling fan kit
- Screwdrivers (Phillips and flat-head)
- Voltage tester
- Wire stripper
- Pliers
- Ladder
- Drill with bits
- Electrical tape
- Wire nuts
- Ceiling fan-rated junction box (if needed)
Step 1: Turn Off Power
Before starting, turn off the power at the circuit breaker to avoid any electrical hazards. Use a voltage tester to confirm the power is off at the existing ceiling fixture.
Step 2: Remove the Existing Fixture
- Unscrew and carefully remove the existing light fixture.
- Disconnect the wiring and remove the fixture’s mounting bracket if necessary.
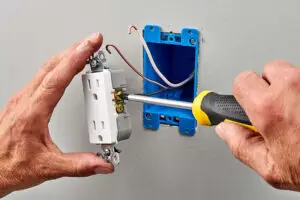
- Check if the electrical box is ceiling fan-rated. If not, replace it with a fan-rated junction box.
Step 3: Install the Mounting Bracket
- Secure the fan’s mounting bracket to the electrical box using the provided screws.
- Ensure the bracket is tightly secured, as it will support the weight of the fan.
Step 4: Assemble the Ceiling Fan
- If your ceiling fan comes with a downrod, attach it to the motor housing.
- If using a flush mount, attach the fan directly to the mounting bracket.
- Follow the manufacturer’s instructions for assembling the fan blades and light kit (if included).
Step 5: Wiring the Fan
- Match the fan’s wires to the corresponding house wires:
- Black (fan power) to black (house power)
- White (neutral) to white (neutral)
- Green or bare copper (ground) to the ground wire
- Secure the connections using wire nuts and wrap them with electrical tape for added safety.
- Carefully tuck the wires into the junction box.
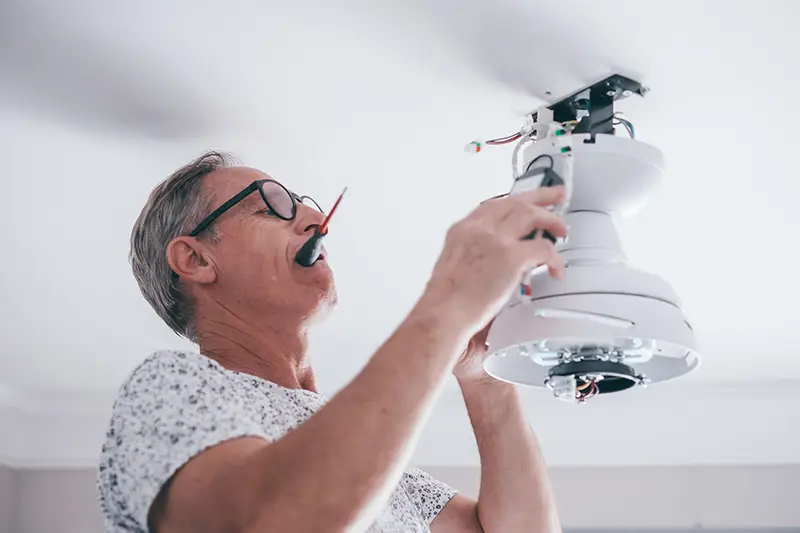
Step 6: Attach the Fan to the Bracket
- Lift the fan and attach it to the mounting bracket as per the manufacturer’s instructions.
- Secure the fan housing to conceal the wiring.
Step 7: Install the Blades and Light Kit
- Attach the fan blades using the provided screws.
- Install the light kit if your fan includes one, following the manufacturer’s instructions.
- Screw in light bulbs and attach the light cover.
Step 8: Turn Power Back On and Test
- Restore power at the circuit breaker.
- Use the fan’s switch or remote control to test its functionality.
- Check that the fan operates smoothly and that there are no wobbles or noises.
Bonus Tips:
- If the fan wobbles, balance the blades using a balancing kit (often included with the fan).
- Ensure all screws are tight to prevent unnecessary noise.
- If the fan has a remote, follow the pairing instructions for proper operation.
By following these steps, you can successfully install a ceiling fan, enhancing both the comfort and energy efficiency of your home. If you encounter wiring issues or feel uncertain at any point, consult a licensed electrician for assistance.